Auto Electrical Repairs
Rebuilding Interment Cluster Wiring
SHARE
Rebuilding Interment Cluster Wiring in Your Car: A Step-by-Step Guide
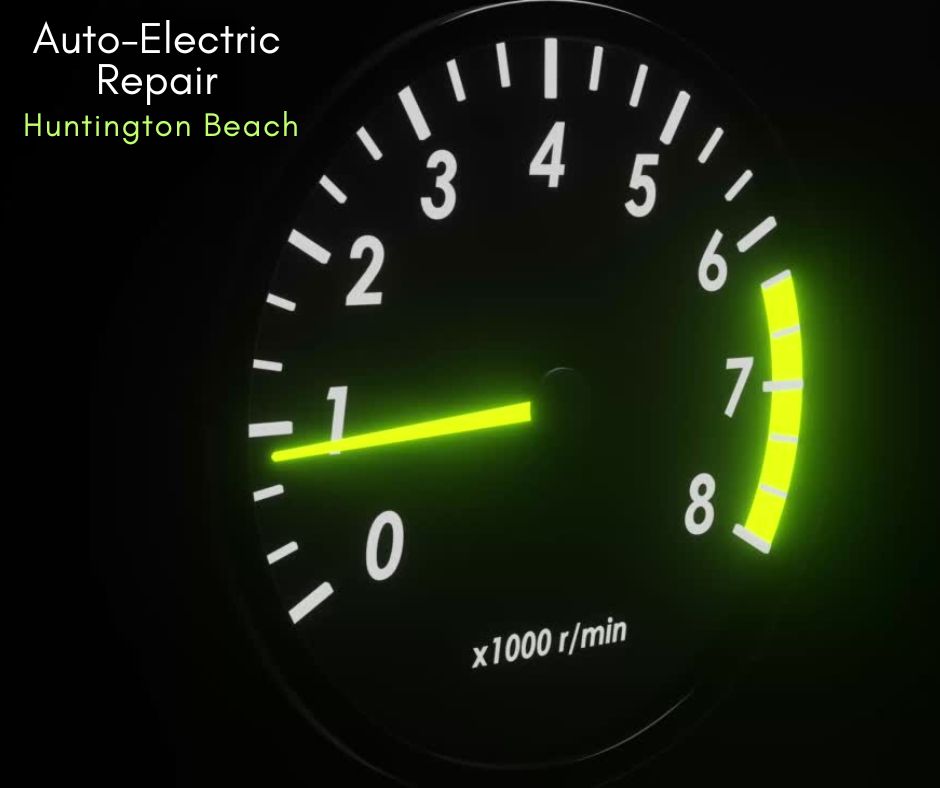
As cars have become increasingly complex, the wiring systems that power their various electronic components have become more intricate as well. One critical part of this wiring network is the interment cluster, which houses the gauges and indicators that provide the driver with vital information about the vehicle’s performance and status. Over time, the wiring in the interment cluster can become worn, damaged, or simply outdated, leading to issues like flickering lights, inaccurate readings, or even complete cluster failure.
If you’re experiencing problems with your car’s interment cluster, rebuilding the wiring can be a cost-effective solution that can breathe new life into this important system. In this blog post, we’ll walk you through the step-by-step process of rebuilding the interment cluster wiring in your vehicle.
Getting Started
The first step in rebuilding your interment cluster wiring is to carefully remove the cluster from your car. This will typically involve disconnecting the cluster from the main wiring harness, as well as removing any mounting screws or clips that hold it in place. Be sure to take note of how the cluster is oriented and positioned, as this will help you reinstall it correctly later on.
Once the cluster is out, you’ll need to disassemble it to access the internal wiring. This may involve removing the bezel, the gauge faces, and any other components that are holding the wiring in place. Take your time and be gentle during this process to avoid damaging any delicate parts.
Inspecting and Repairing the Wiring
With the interment cluster disassembled, you can now closely inspect the wiring for any signs of damage or wear. Look for frayed, cracked, or corroded wires, as well as any loose connections or damaged terminals. If you find any issues, you’ll need to repair or replace the affected wires and components.
When repairing the wiring, it’s important to use high-quality, automotive-grade components. This includes things like heat-shrink tubing, crimp connectors, and wire that is specifically designed for use in a vehicle’s electrical system. Avoid using cheap, generic parts, as they may not hold up well to the harsh conditions found under the dashboard.
If you encounter any wires that are beyond repair, you’ll need to replace them entirely. This may involve tracing the wiring back to the main harness and splicing in new sections as needed. Be sure to label each wire as you go to make the reinstallation process easier.
Reassembling and Reinstalling the Cluster
Once you’ve completed all the necessary wiring repairs, it’s time to reassemble the interment cluster. Start by carefully reinstalling any components that you removed, such as the gauge faces and bezel. Make sure everything is aligned and secured properly before moving on.
Next, reconnect the cluster to the main wiring harness, taking care to match each wire to the correct terminal. If you labeled the wires during the disassembly process, this should be a straightforward task. Double-check all connections to ensure they are tight and secure.
Finally, carefully reinstall the interment cluster back into your vehicle, making sure it is properly aligned and secured. Reconnect any mounting screws or clips, and then test the cluster to ensure all the gauges and indicators are functioning correctly.
Conclusion
Rebuilding the interment cluster wiring in your car can be a challenging but rewarding project. By taking the time to carefully inspect, repair, and rebuild this critical system, you can extend the life of your vehicle’s electronics and ensure that you have accurate and reliable information about your car’s performance. With the right tools, materials, and a bit of patience, you can tackle this project and get your interment cluster back in top shape.
